GigaPaw.com participates in affiliate programs including Amazon Associates. We earn from qualifying purchases. Content is for informational purposes only—consult a licensed veterinarian for pet medical advice.
How to Build a Catio: Free DIY Plans, Materials & Cost

So you want your cat to feel the sun on their fur, sniff the breeze, and watch birds like it is prime-time TV, but you would also like them to not get flattened by a car or become a hawk’s afternoon snack.
That is exactly what a catio is for.
A catio (cat + patio) is an enclosed outdoor space that gives your cat all the fresh air and stimulation of the outdoors with none of the danger. And here is the good news: you do not need to be a carpenter to build one.
This is your complete build guide. We will cover the types, the real costs, the exact materials, the tools, and the step-by-step process. By the end you will know precisely what to buy and how to put it together.
If you just want ideas and inspiration first, browse our roundup of outdoor cat enclosure ideas and then come back here to actually build the thing.
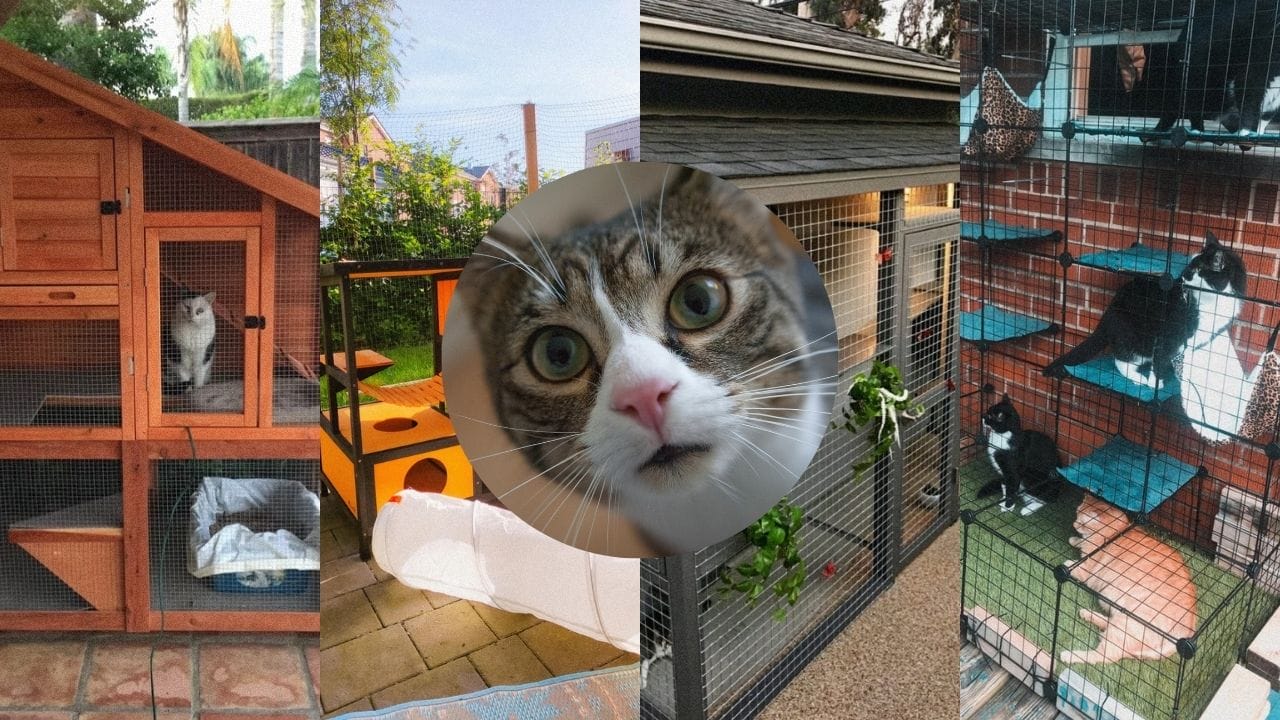
First, Pick Your Catio Type
Not all catios are the same amount of work. Before you buy a single screw, decide which style fits your home, your cat, and your patience level.
| Catio Type | Best For | Rough Cost | Difficulty |
|---|---|---|---|
| Window box | Renters, small budgets, indoor cats | $100 – $300 | Easy |
| Balcony catio | Apartments, no yard | $150 – $500 | Easy to medium |
| Freestanding | Yards, no wall to attach to | $400 – $1,200 | Medium |
| Walk-in (you go inside too) | Big yards, multiple cats | $1,000 – $2,500+ | Hard |
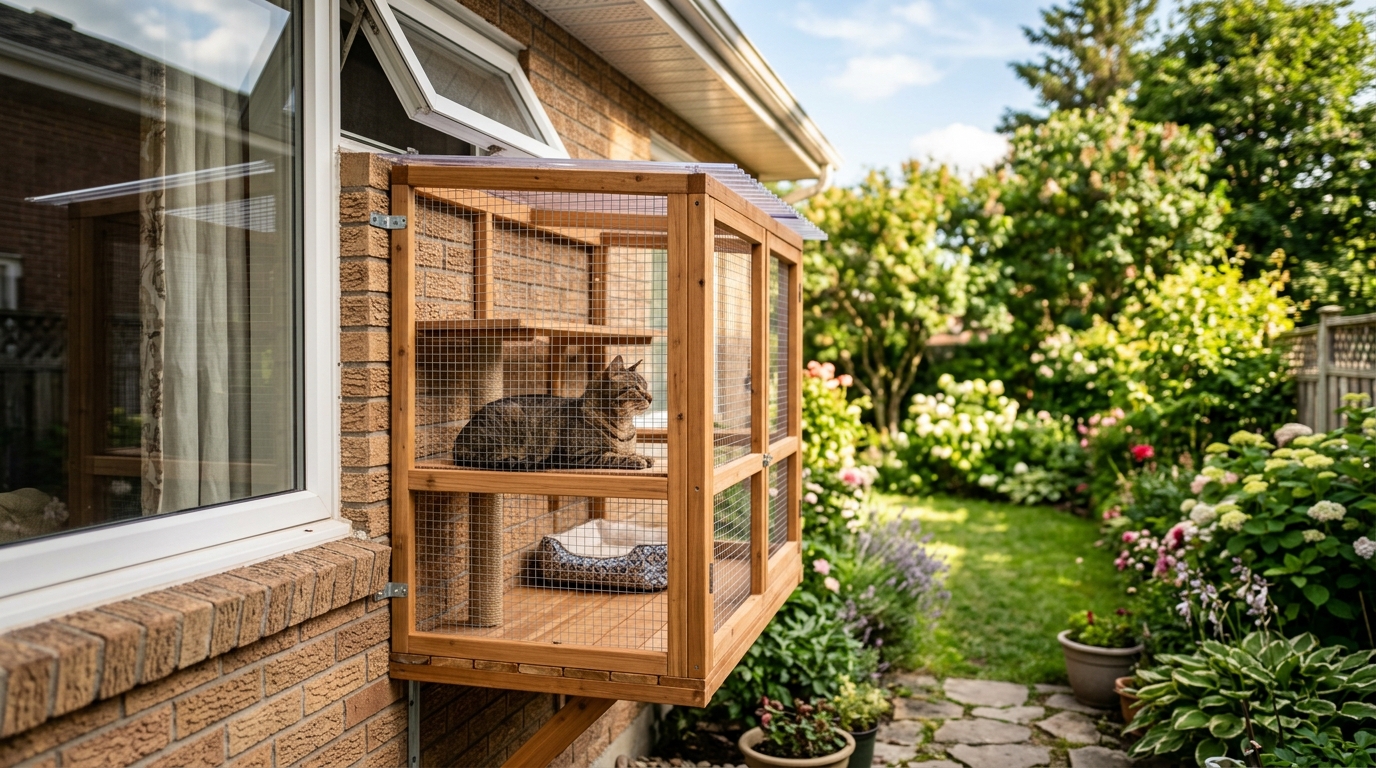
A window box catio sticks out from a window like a little sunroom bump-out. It is the cheapest and fastest, and your cat gets in and out through the open window.
A balcony catio wraps your existing balcony railing in mesh so your cat cannot squeeze through or take a terrifying leap. If you are in an apartment, start with our cat balcony ideas for layout inspiration.
A freestanding catio is a standalone box you plant in the yard, usually connected to the house by a tunnel or cat door.
A walk-in catio is the dream build. It is big enough for you to sit inside with your cats, and it is where people get truly carried away with shelves, ramps, and plants.
What Does a Catio Actually Cost?
Let us talk money, because this is the question everyone whispers before they start.
The honest answer: a catio can cost as little as $80 for a scrappy weekend window build or well over $4,000 if you hire a pro to build a custom walk-in. Most DIY builders land somewhere in the middle.
Here is a realistic component breakdown for a small-to-medium DIY catio.
| Item | Typical Cost |
|---|---|
| Lumber (framing) | $300 – $600 |
| Escape-proof mesh (per roll) | $100 – $250 |
| Fasteners and hardware | $50 – $150 |
| Roofing (polycarbonate panels) | $30 – $60 per panel |
| Paint or wood stain | $40 – $80 |
For reference, a professional custom catio runs $4,000 to $10,000 or more, which is exactly why we are building our own.
The biggest way to save is to build small and use what you already have. A window or balcony catio skips most of the lumber cost entirely.
The Materials List (And the One Decision That Matters Most)
You can wing a lot of this project. You cannot wing the mesh. This is the single most important safety choice you will make, so let us start there.
Mesh: Choose This, Not That
Please, for the love of your cat, do not use standard chicken wire.
Chicken wire bends, stretches, rusts, and leaves sharp jagged edges when you cut it. A determined cat or a hungry raccoon can push right through it, and those cut edges can slice paws and noses.
Here is what to use instead.
| Mesh Type | Verdict |
|---|---|
| 16-gauge galvanized welded wire | Great all-rounder, strong and affordable |
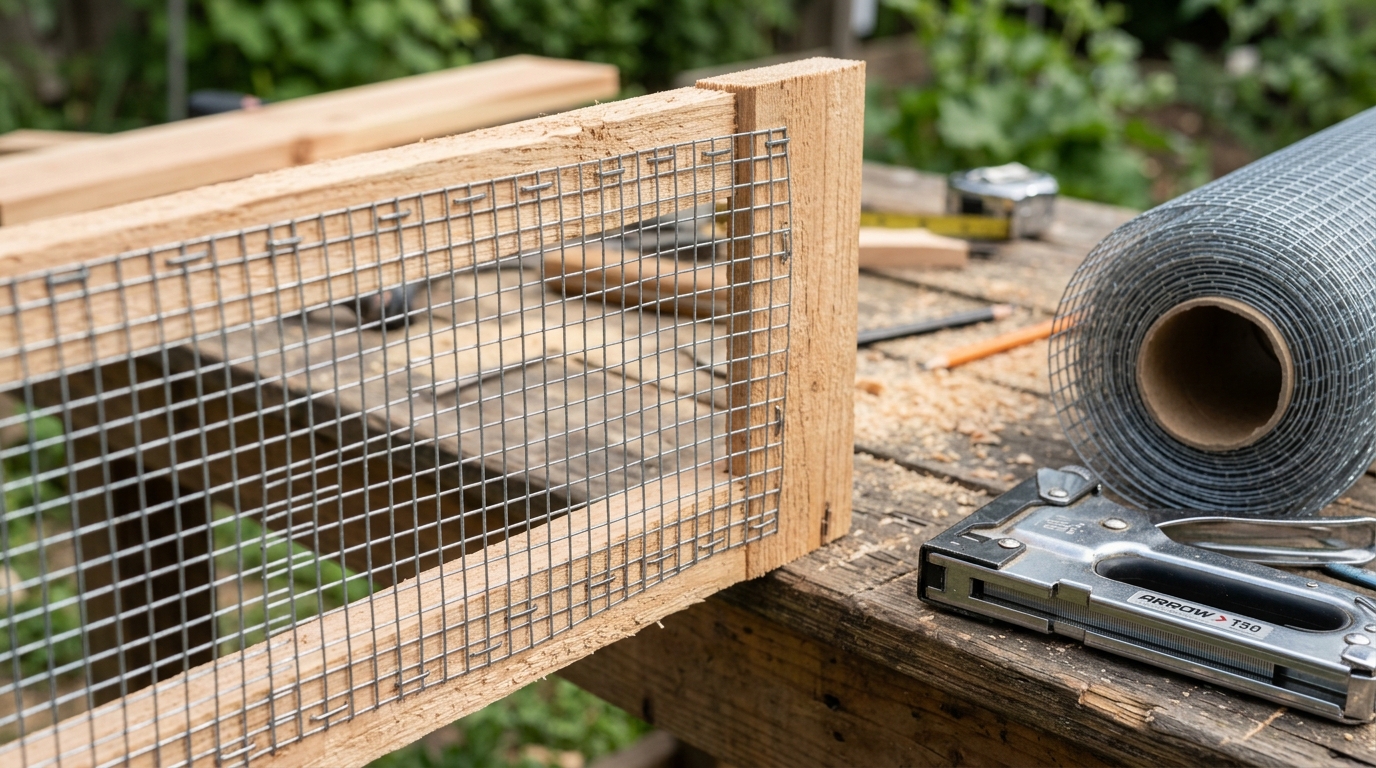
| Hardware cloth (1/2″ x 1/2″) | Best protection, tightest weave, keeps out small predators |
| PVC-coated wire mesh | Rust-proof, looks cleaner, gentle on paws |
| Chicken wire | Skip it. Not strong enough. |
Galvanized welded wire in 16 gauge is the sweet spot for most builds. If you have hawks, coyotes, or raccoons in your area, upgrade to hardware cloth for the tighter weave and extra strength.
Everything Else You Need
- Lumber: Cedar is the top pick because it naturally resists rot and holds up outdoors. Pressure-treated lumber works too. On a tight budget, PVC pipe makes a lightweight frame.
- Roof: Clear polycarbonate panels give you shade and rain protection while still letting light in. You can also run mesh across the top, but a solid panel means your cat can use the catio in any weather.
- Fasteners: Exterior wood screws, heavy-duty staples or poultry staples for attaching mesh, and corner brackets for strength.
- Finish: Pet-safe exterior paint or stain to protect the wood.
One structural note: if you are putting a heavy roof like polycarbonate or metal on a bigger catio, use 2×6 or larger beams for the roof joists so nothing sags over time.
Tools You Will Need
You probably own most of these already. If not, borrow before you buy.
- Drill or impact driver
- Circular saw or miter saw (a hand saw works, it just takes longer)
- Heavy-duty staple gun
- Wire cutters or tin snips
- Tape measure and a pencil
- Level
- Work gloves and safety glasses (cutting wire is no joke)
How to Build a Catio, Step by Step
Alright, here is the actual build. This is the general process for a freestanding or attached catio. Scale it down for a window box.
Step 1: Measure and Plan
Pick your spot and measure it twice. Sketch your catio with real dimensions, including height. Most cats want vertical space to climb, so taller is often better than wider.
Step 2: Build the Base Frame
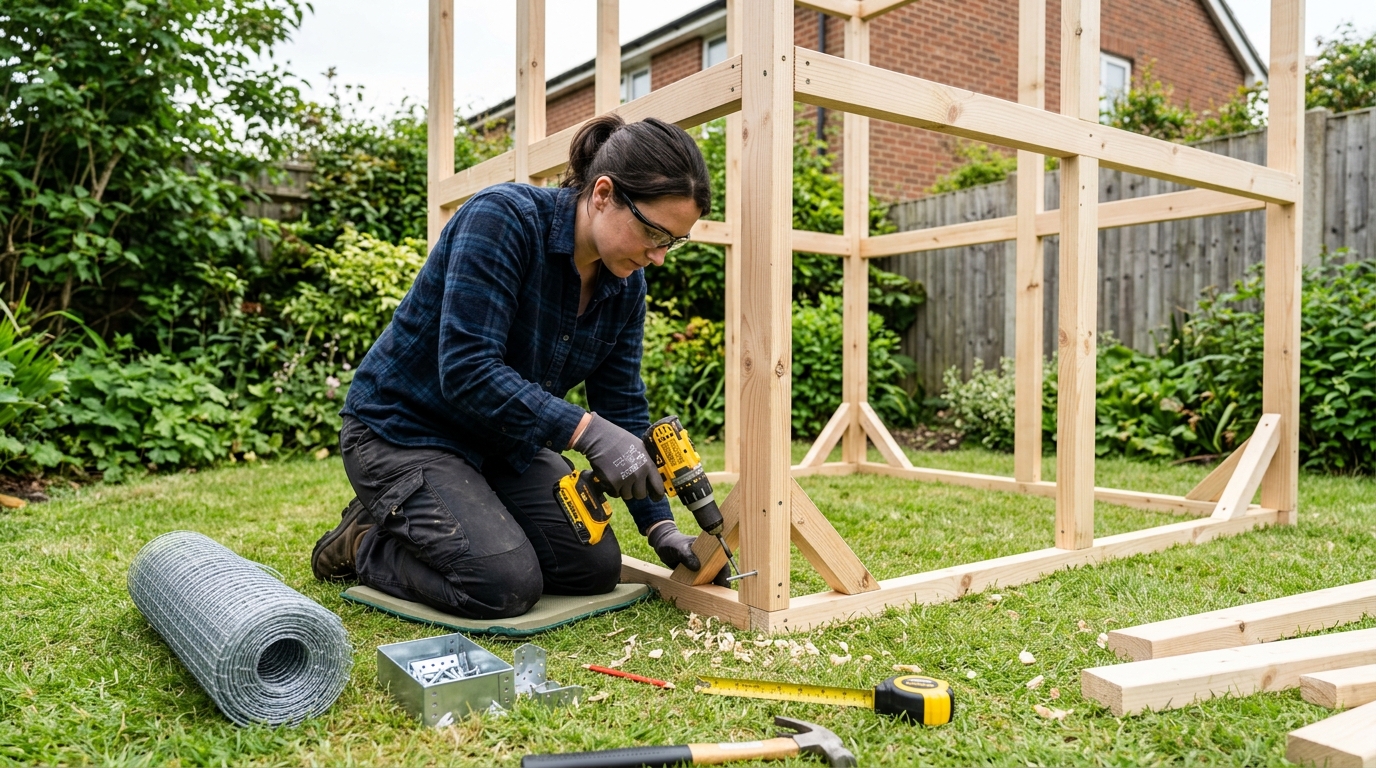
Cut your lumber and assemble the bottom rectangle first. Check that it is square by measuring corner to corner both ways. Those two numbers should match.
Step 3: Add the Vertical Posts
Attach corner posts to your base, then a top frame to connect them. Use a level constantly. This is your skeleton, and a crooked skeleton haunts you for the rest of the build.
Step 4: Frame the Roof
Add your roof joists across the top. Remember the 2×6 rule if you are going with a heavy panel roof. Angle the roof slightly so rain runs off instead of pooling.
Step 5: Attach the Mesh
Roll your mesh over each panel section, pull it tight, and staple it to the frame every few inches. Fold and secure every cut edge so there are no sharp points poking inward. Take your time here. Loose mesh is an escape route.
Step 6: Install the Roof
Screw down your polycarbonate panels or attach your top mesh. Overlap panels slightly so rain does not sneak through the seams.
Step 7: Anchor It Down
A catio must be secured so it cannot tip, blow over, or be dug under. Anchor a freestanding catio to the ground with stakes or a paver base. Bolt an attached catio to the wall of your house.
Step 8: Add the Door and Finish
Install a latching door for yourself, then seal or paint the wood. Now the fun part starts.
Getting Your Cat In and Out
A catio your cat cannot reach is just a fancy birdcage. You have three main options.
- Window access: The simplest. Your cat hops through an open window into a window box catio. Add a secure window insert so bugs and weather stay out.
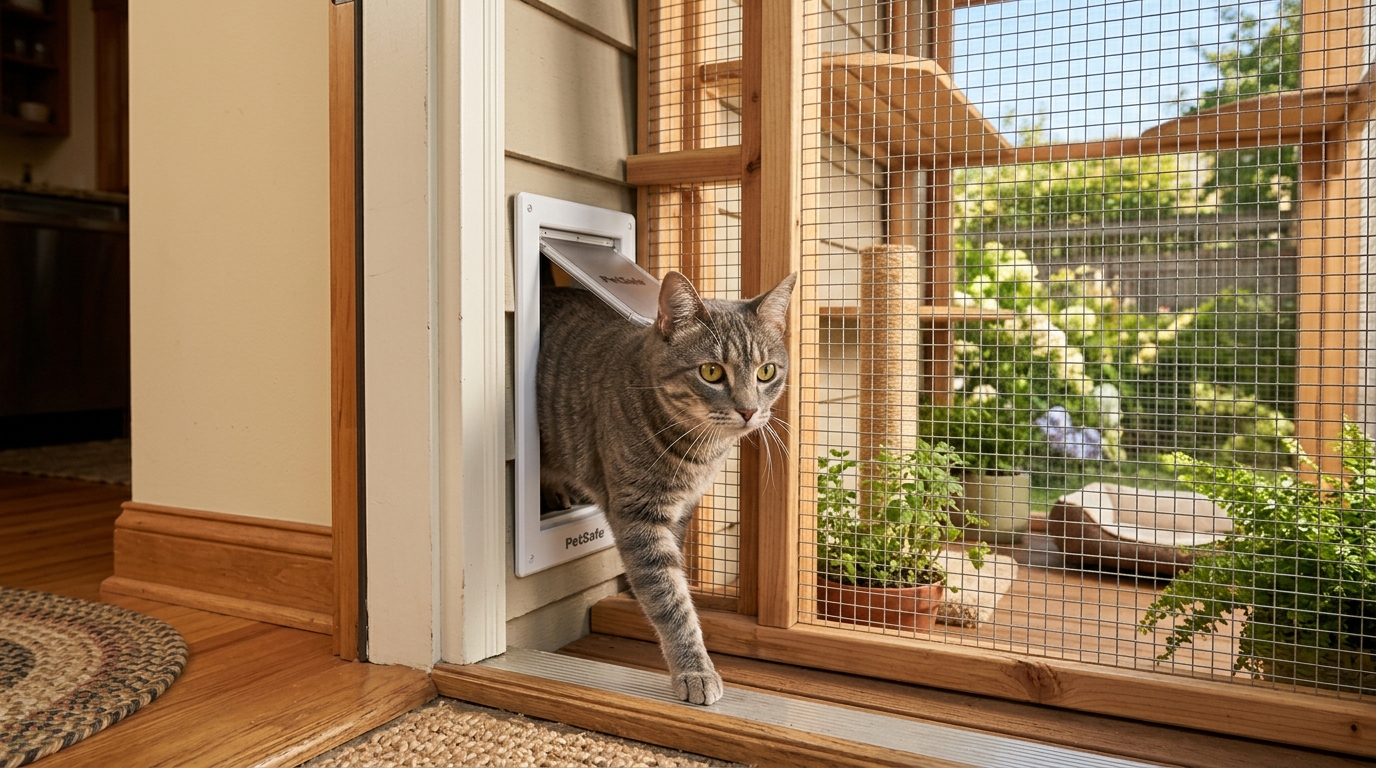
- Cat door through the wall: Cut a small pet door into an exterior wall or door so your cat comes and goes on their own schedule. If you want practice on an easier version first, see our guide to a DIY cat door for a window.
- Tunnel: Connect a freestanding catio to the house with a mesh tunnel. Cats love a good tunnel, and it means you do not have to carry anyone anywhere.
Safety Mistakes to Avoid
Most catio problems come down to a handful of rookie errors. Dodge these and you are golden.
- Weak latches. Cats are tiny escape artists and some can paw open a simple latch. Use latches that actually lock.
- Gaps you did not notice. Any gap wider than about an inch is a potential squeeze-through. Check corners, the roofline, and around the door.
- No shade or water. A mesh box in full sun becomes an oven. Give your cat shade, and always leave fresh water out there.
- Forgetting predators can reach in. A raccoon can grab through wide mesh. Tight weave near the ground solves this.
- Not anchoring the structure. Wind and digging are real. Secure it down.
Furnish It So Your Cat Actually Uses It
An empty box is boring. The magic happens when you add levels and things to do.
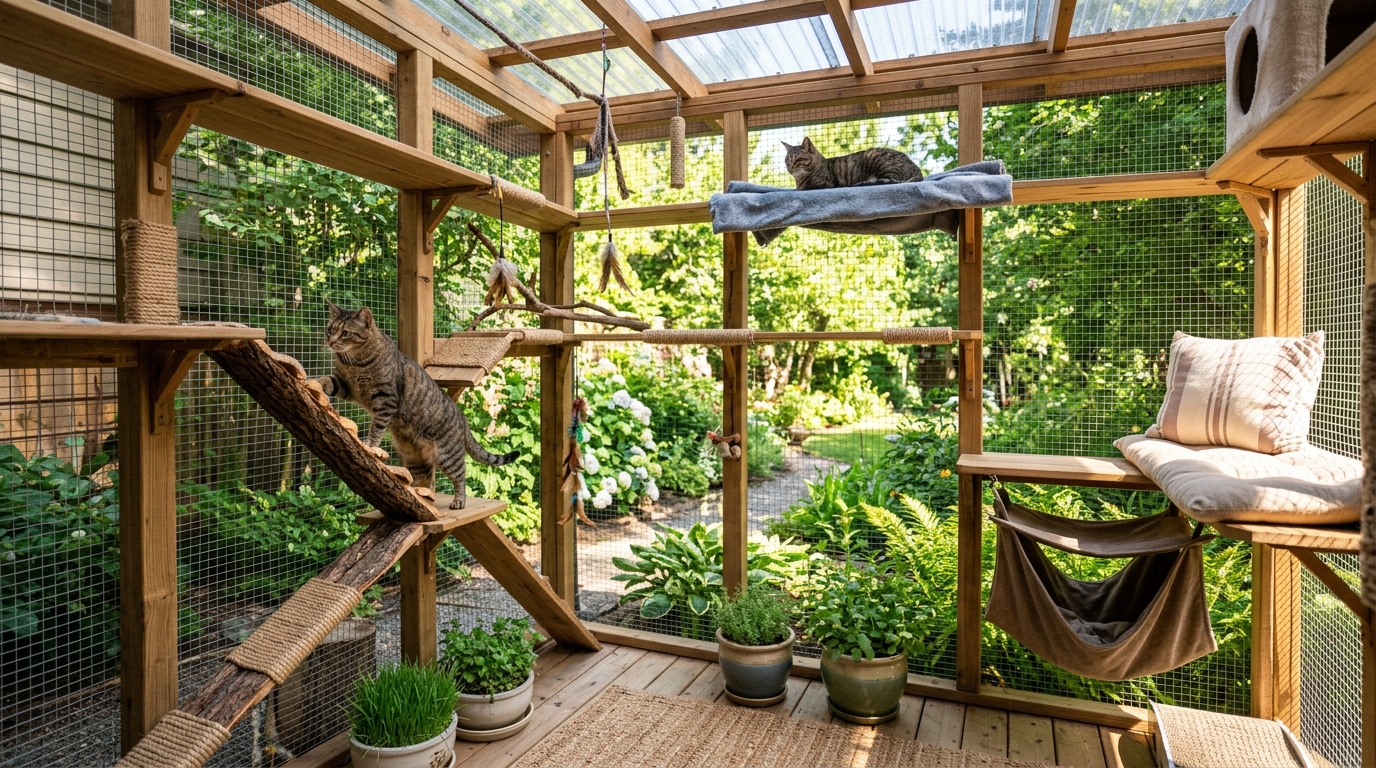
Add shelves at different heights, a ramp or two, a cozy perch in the sun, and a shady hideout for hot days. For layout ideas your cat will love, steal a few from our cat wall furniture ideas.
Cat-safe plants like cat grass and catnip turn a good catio into a five-star resort. Our outdoor cat garden ideas walk you through which greenery is safe and which to skip.
Want Free Plans?
You do not have to design this from scratch. Plenty of makers share free and low-cost catio plans with exact cut lists and diagrams, from simple window boxes to full walk-in builds.
Grab a set that matches your chosen type, then use everything above to buy the right mesh and build it safely. The plan gives you the measurements. This guide keeps your cat safe inside them.
Go Build It
Here is the thing. Your cat has been staring out that window for years, narrating the birds and plotting escapes. A catio hands them the outside world with a safety net.
You can knock out a window catio in a weekend for the price of a nice dinner, or go big with a walk-in you will end up hanging out in too. Either way, you are giving your cat something they genuinely crave.
Start small, use the right mesh, anchor it down, and let your cat take it from there.
Ready for more? Compare finished builds in our outdoor cat enclosure ideas roundup and pick your next upgrade.