GigaPaw.com participates in affiliate programs including Amazon Associates. We earn from qualifying purchases. Content is for informational purposes only—consult a licensed veterinarian for pet medical advice.
DIY Cat Door for Window: 4 Ways to Do It Without Ruining Anything
Your cat has been staring at the door for the last twenty minutes, doing that slow tail flick that basically says, “Let me out or I start knocking things off shelves.”
You get it.
But cutting a hole in your wall feels like a commitment you’re not ready for.
Good news: your windows are right there, and a few of them are practically begging to have a cat door installed. No wall damage, no contractor, and in some cases, no permanent changes at all.
Here are 4 ways to do it, from dead simple to “okay I need a drill for this one.”
Before You Pick a Method: Measure Your Cat First
This sounds obvious, but it’s where most people go wrong.
The number on the box says “cat door” but what matters is the flap opening, not the overall product size. Those are two different measurements and confusing them leads to a very undignified situation where your cat gets halfway through and stops.
Here’s how to measure correctly:
- Width: Wrap a soft tape measure around the widest part of your cat — usually the chest or belly. Add 1-2 inches. That’s your minimum flap width.
- Height: Measure from the floor to the top of your cat’s shoulders when they’re standing normally.
General sizing guide:
| Cat Weight | Minimum Flap Size |
|---|---|
| Under 10 lbs | 5″ x 5″ |
| 10–15 lbs | 6″ x 7″ |
| Over 15 lbs | 7″ x 9″ or larger |
When in doubt, go bigger. A flap that’s slightly too large is fine. One that’s slightly too small turns every trip outside into a comedy sketch.
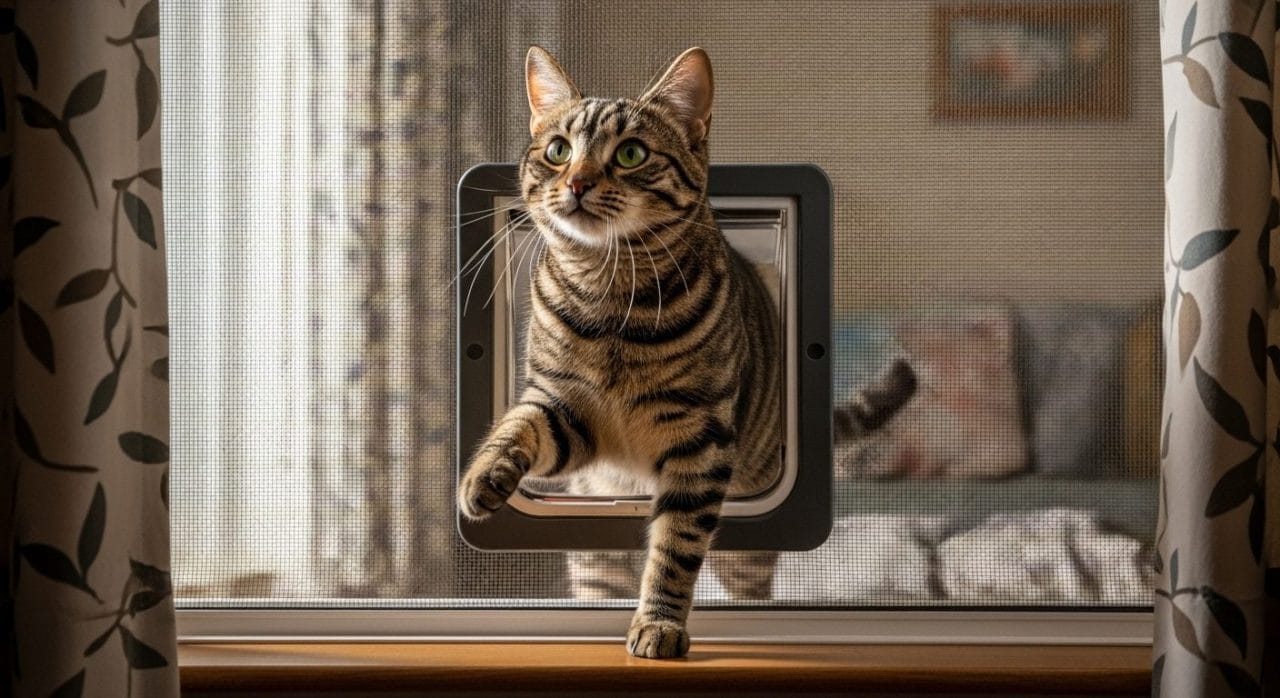
Method 1: The Screen Swap (Best for Renters, Easiest Overall)
Cost: $15–$60 | Skill Level: Total beginner | Best for: Any window with a removable screen
This is the option that requires the least commitment and the fewest tools.
The idea is simple: you replace your existing window screen with a new one that has a cat flap built in. When you move out or change your mind, you swap the original screen back. Nobody knows it ever happened.
What you need:
- Pet-resistant mesh (vinyl-coated polyester — it’s 7–10x stronger than regular fiberglass mesh and your cat won’t claw through it in a week)
- A cat flap designed for screens
- Spline and a spline roller tool
- Utility knife, flathead screwdriver, ruler
How to do it:
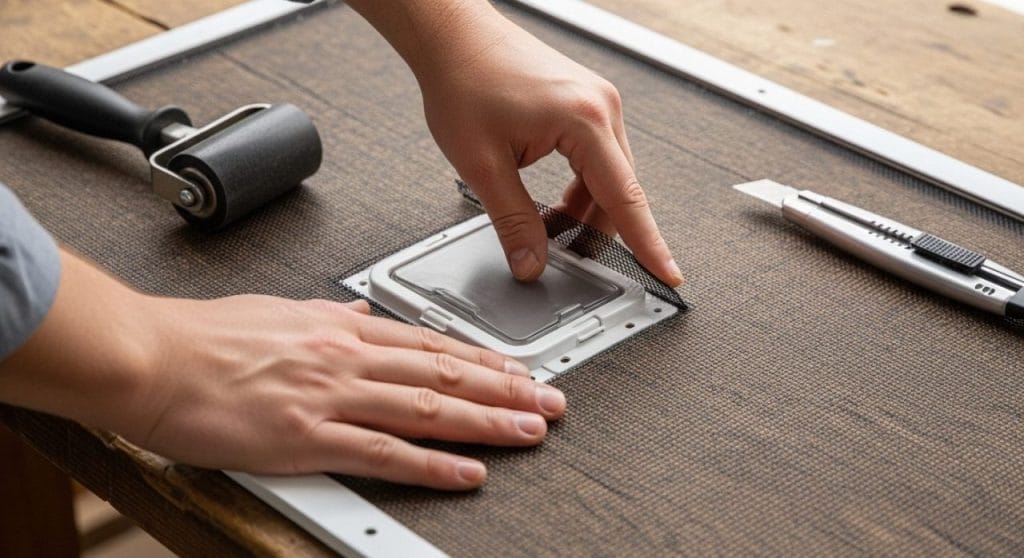
Remove your existing screen from the window frame. Pop out the old spline (the rubber cord holding the mesh in place) with a flathead screwdriver — it just peels out.
Cut the pet mesh to size with about 1–2 inches of overlap on all sides. Cut the cat flap opening in the mesh before you install it. Use a ruler as a straight edge and the utility knife to get clean lines.
Position the cat flap in the opening. Roll the new mesh into the frame channel using the spline roller, working from one corner and pulling the mesh taut as you go. Trim any excess mesh at a 45-degree angle so the corners sit clean.
Reinstall the screen.
The catch: This only works with windows that have removable screens. Casement windows that crank open? Usually no removable screen, so skip ahead to Method 4.
Also, position the flap so it pushes inward — it’s much easier for your cat to learn when they’re pushing into the room rather than out.
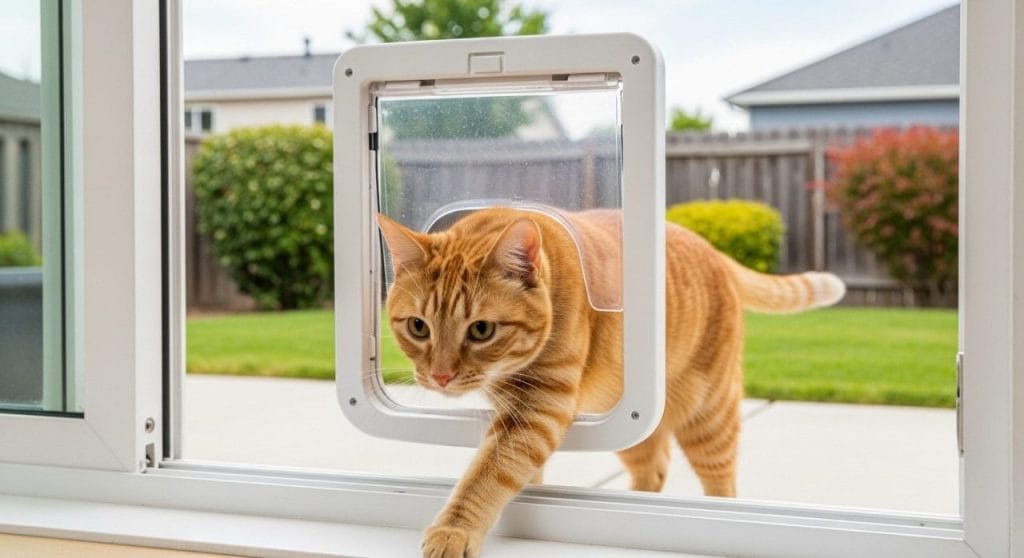
Method 2: The Plexiglass Panel Insert (Best for Sliding Windows, Cleanest Look)
Cost: $40–$150 | Skill Level: Moderate | Best for: Horizontal or vertical sliding windows
This one looks the most professional.
You’re creating a custom acrylic panel that slides right into your window track — where the glass normally sits when the window is open. The cat flap mounts in the panel. Your cat uses it. You pull the panel out whenever you want the full window back.
What you need:
- Acrylic or plexiglass panel cut to size (hardware stores will cut it for you)
- A cat flap kit
- Weatherstripping foam and brush seals
- Drill with a bit sized for your cat flap screws
- Tape measure
The critical measurement: The inside track width. Go measure it right now — don’t guess. Most sliding windows have a track that’s between 3/4″ and 1″ deep. Your panel needs to fit snugly in there without wobbling.
How to do it:
Measure the opening you want to fill when the window is partially open. Measure three times. Cut the acrylic panel to that size (or have the hardware store do it — it’s usually a couple dollars and saves a lot of frustration).
Mark where you want the flap opening on the panel. The center of the flap should sit roughly 9–12 inches above the windowsill so your cat steps through comfortably without having to jump.
Drill a pilot hole, then cut the opening using a jigsaw with a fine-tooth blade. Take it slow — acrylic cracks if you rush it.
Mount the cat flap hardware according to its instructions.
Run weatherstripping along all four edges of the panel before sliding it into the track. This seals out drafts and bugs. Brush seals along the top and bottom edges work especially well.
Slide the panel into the window track. It should sit snug with no wobble.
One thing to know: Acrylic panels up to about 54″ are fine structurally. Beyond that you’d want to add a support strip or use a different method.
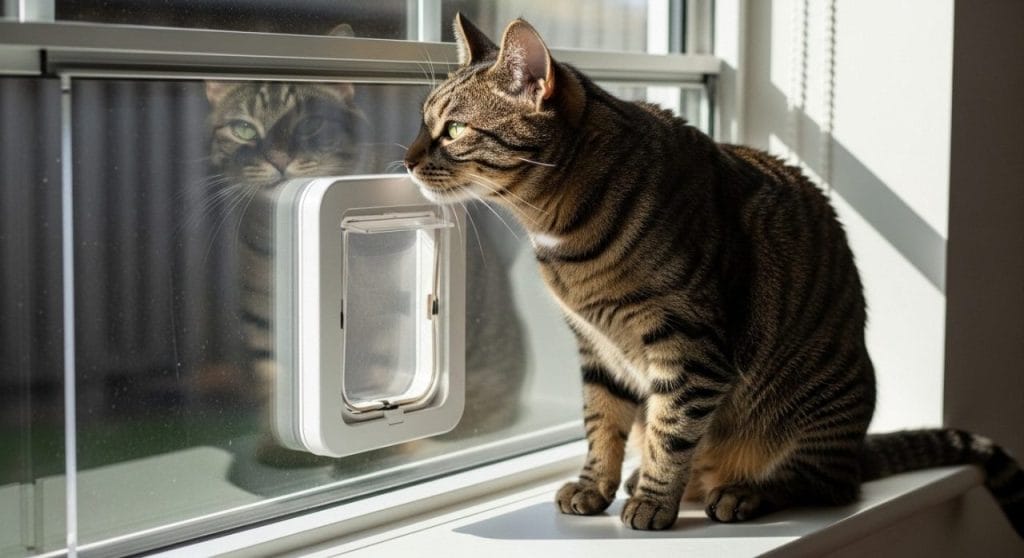
Method 3: Pre-Made Window Insert Kits (Fastest, Zero DIY Required)
Cost: $80–$200 | Skill Level: None | Best for: Anyone who just wants it done
Yes, this section is in a DIY post. But hear me out.
Pre-made window cat door inserts exist specifically for sliding windows and they install in about 15 minutes. If you have a standard-size sliding window and want this done before lunch, this is your answer.
Popular options include the PetSafe Windoor, the Ideal Pet Products window insert, and the Endura Flap horizontal sliding window kit.
Most of them work the same way: they’re a pre-assembled panel with a flap already mounted, sized to fit in a sliding window track. You measure your window opening, order the right size, and slide it in.
What to know before you buy:
- Measure your track depth first. Vinyl windows often have narrow tracks (3/8″–3/4″). Standard kits are designed for tracks around 1″–1.25″. If yours is narrower, check the product specs carefully or go with the plexiglass custom panel in Method 2 instead.
- Magnetic flaps and some cats don’t mix. Some cats refuse to push through a magnetic flap — the resistance throws them off. Most products let you remove the magnets during training, which helps.
- Cold air is real. These kits aren’t insulated. In winter, expect some draft. A brush seal upgrade helps, but if you’re in a genuinely cold climate, the wooden frame method in Method 4 will insulate better.
- If you have a home security system, check whether your window contacts will still work properly with the insert in place. Some magnetic sensors need repositioning.
The upside: It’s reversible, requires no tools, and most kits come with a warranty. If DIY isn’t your thing, there’s no shame in this route.
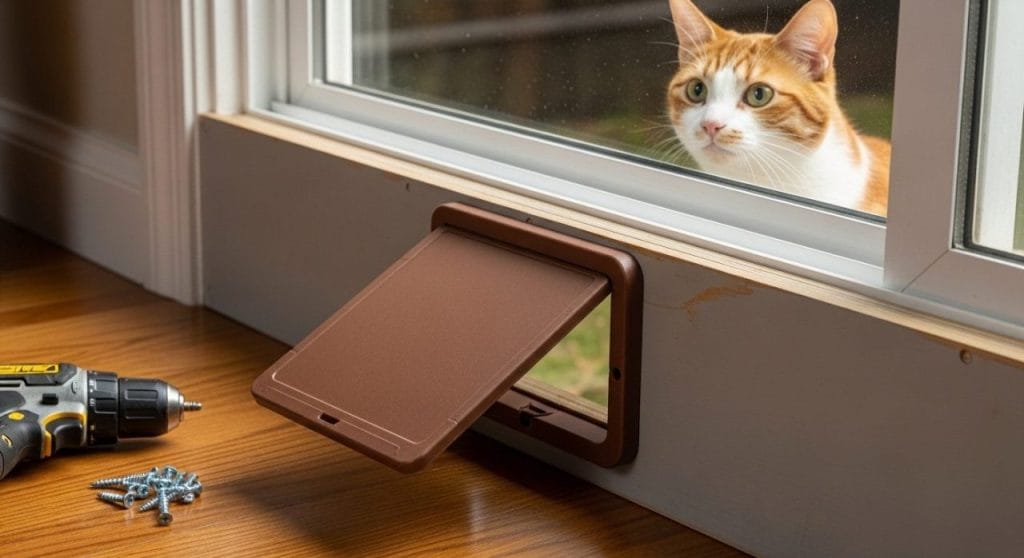
Method 4: DIY Wooden Frame Insert (Most Durable, Best Insulation)
Cost: $50–$150 | Skill Level: Basic woodworking | Best for: Sliding windows, long-term use
This is the version you build with your hands and it outlasts everything else on this list.
You’re making a plywood panel that slides into your window track, with a cat flap mounted directly in the wood. It insulates better than acrylic, you can paint or stain it to match your window trim, and it’s solid enough that your cat walking through it won’t rattle the whole window.
What you need:
- 1/2″ or 3/4″ plywood (exterior grade if it’ll get any weather exposure)
- 1″x2″ wood slats for reinforcement
- A standard cat flap kit
- Wood screws, wood glue, sandpaper
- Exterior wood sealer or paint
- Jigsaw, drill, tape measure
How to build it:
Measure your window opening the same way as Method 2 — the inside track dimensions, the height you want to fill, three times.
Cut the plywood to size. Add 1″x2″ wood slats vertically on the back of the panel for rigidity. These also give you more material to screw into when mounting the cat flap.
Mark and cut the cat flap opening. Center the flap horizontally. For height, position it so the bottom of the opening is about 6–8 inches above the windowsill — this gives your cat a natural step-through height without having to leap.
Sand every edge smooth. This matters — rough edges catch on the window track and scratch your cat’s paws.
Mount the cat flap hardware.
Seal the entire panel with exterior wood sealer or paint before installing. Do both sides. Wood that gets rained on warps, and a warped panel won’t slide cleanly in the track anymore.
To secure it: slide the panel into the window track, close the window snugly against it, and use a wooden dowel in the lower track to lock the window at that position. The window itself holds the panel in place.
For double security: Cut a second piece of thinner plywood as a “sandwich” layer for the outside face and screw them together through the window frame. This makes it genuinely hard to push out from either side.
Which Method Should You Pick?
| Situation | Best Method |
|---|---|
| You’re renting | Screen swap (Method 1) |
| You have a sliding window and want it to look clean | Plexiglass panel (Method 2) |
| You want zero DIY and don’t mind spending more | Pre-made kit (Method 3) |
| You want it to last years and insulate properly | Wooden frame (Method 4) |
| You have a casement window | Method 1 only |
| You have a double-hung window with narrow tracks | Method 1 or 4 |
A Few Things That’ll Save You a Headache
Train your cat before you seal everything up. Prop the flap open with tape on day one. Let them walk through freely. Once they’re comfortable, introduce the flap resistance gradually. Don’t just install it and expect them to figure it out — some cats get spooked by the flap and then you’ve got a door nobody uses.
Watch for other animals. If your neighborhood has stray cats, a magnetic flap is only a mild deterrent. A chip-activated cat door reads your cat’s microchip and only opens for them. They cost more ($150–$300) but if you’ve got bold neighborhood cats regularly walking into your kitchen, it pays for itself in sanity.
Mind the height. Don’t put a cat door in a second-floor window without thinking about the drop on the outside. Cats have good reflexes but they don’t have great height perception. Make sure the exit is safe.
Seal the gaps. Whatever method you use, run a bead of weatherstripping around the panel edges. Drafts in winter are annoying for you and genuinely uncomfortable for your cat when they’re coming and going.
The Bottom Line
None of these methods require you to knock a hole in a wall or call anyone.
The screen swap takes an afternoon and costs less than a bag of cat food. The plexiglass and wooden frame builds take a weekend but give you something solid that lasts. The pre-made kits get you done before the next commercial break.
Pick the one that matches your skill level, your window type, and how long you plan to stay in your house.
Your cat has been patient enough. Probably.
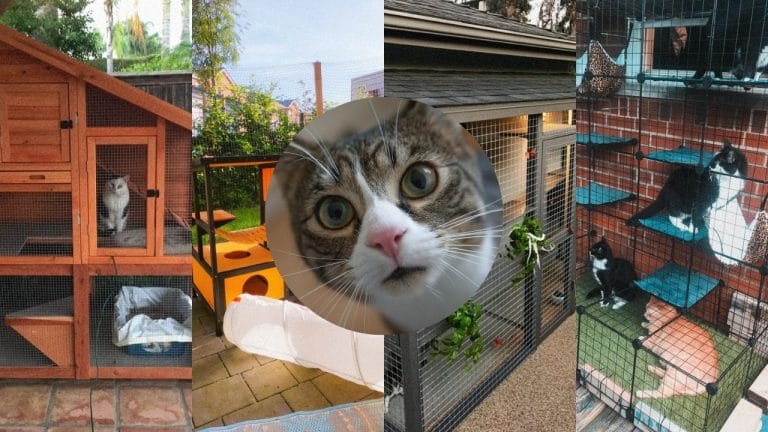
Want more window ideas for your cat? Check out 17 DIY Cat Window Ideas for perches, hammocks, and outdoor boxes.